


Z-Wave isn’t dead — it’s stronger than ever. With the new HomeAssistant Connect ZWA-2
adapter, bringing Z-Wave devices into your smart home has never been easier. And when
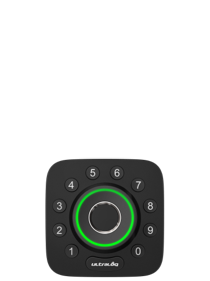
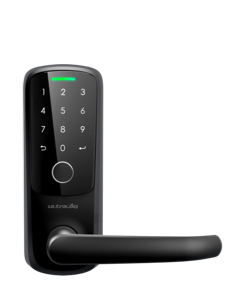
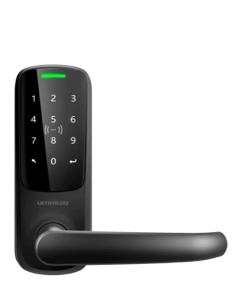
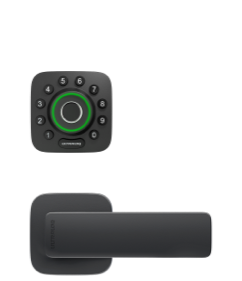
paired with the Xthings Ultraloq Bolt Z-Wave smart lock, you get secure, reliable, and
long-range access control seamlessly integrated into your HomeAssistant setup.
Why Z-Wave Still Matters
For over two decades, Z-Wave has been a trusted protocol for smart homes — offering strong
security, excellent range, and low power consumption. HomeAssistant’s ZWA-2 adapter gives
this ecosystem a modern, plug-and-play path to integrate with your open-source smart home
hub. And with products like the Ultraloq Bolt Z-Wave tested and confirmed to work, the
possibilities keep expanding.


What You Need
- HomeAssistant Hub (e.g., Raspberry Pi running HomeAssistant OS)
- HomeAssistant Connect ZWA-2 Adapter (USB)
- Xthings Ultraloq Bolt Z-Wave Smart Lock
- HomeAssistant mobile or web interface
Step-by-Step Setup
Step 1: Install Z-Wave JS in HomeAssistant
- In the left-hand menu, go to Settings → Add-ons.
- Click Add-on Store.
- Search for “Z-Wave JS” and select it.
- Click Install and wait for the installation to complete.
Step 2: Configure the ZWA-2 Adapter
- Plug the HomeAssistant ZWA-2 into a USB port on your Raspberry Pi.
- In the left-hand menu, go to Settings → Devices & Services.
- Click Add Integration.
- Search for “Z-Wave” and select it.
- Follow the prompts to complete the controller configuration (e.g., select the USB port).
- Click Submit to finish setup.
Step 3: Add the Ultraloq Bolt Z-Wave
- In Devices & Services, click the Devices tab.
- Click Add Device → Add a Z-Wave Device.
- Select Search for Device. The system will begin scanning.
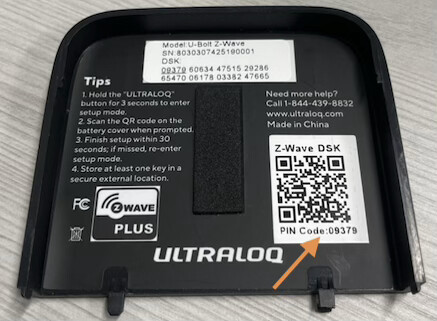
- Initialize the lock:
- Hold the Reset button for 5 seconds to initialize.
- Hold the ULTRALOQ keypad button for 5 seconds to enter pairing mode.
-
Once detected, enter the 5-digit Z-Wave PIN from under the battery cover.
-
Assign the device to an area (optional) and finish setup.
Step 4: Adding or Removing Bolt Z-Wave PINs
- In the left-hand menu, go to Developer Tools.
- Click the Actions tab → Search for “zwave_js”.
- Select Set lock user code (to add) or Clear lock user code (to remove).
- Under Targets, choose the lock.
- To add: enter Code Slot and Code. To remove: enter the existing Code Slot.
- Click Perform Action to complete the process.
Pro Tip: Remote Access Control
- With your Ultraloq Bolt Z-Wave connected via the ZWA-2 adapter, you can manage PIN codes and monitor lock activity from anywhere with the HomeAssistant App — perfect for granting temporary access to guests, service providers, or deliveries.

Final Thoughts
The HomeAssistant ZWA-2 adapter and Ultraloq Bolt Z-Wave make a powerful combo for open-source smart home enthusiasts. You get Z-Wave’s legendary reliability, HomeAssistant’s flexibility, and a truly integrated smart access experience.